Wednesday, November 26, 2014

holiday wood signs - artisan design team blog hop

Welcome to the Stampin' Up! Artisan Design Team Blog Hop!

For my American friends joining us today - Happy Thanksgiving!

My project this week happened by accident! (Don't you hate people like me?!). My Birthday was a week ago (thank-you) and I wanted to do some holiday crafty projects that Sunday with my hubby and kiddo's. When you are the birthday girl around here you get to do what you want. So with Arturo's anxiety on full we dug out the paints and a few old wood boards to get creative. The anxiety comes when paint involves anyone other than him ... especially the kids!

The accident part was only that I had no intention to use Stampin' Up! products on this project or even use it as a blog post. It was just a fun Sunday project. But I should have know that Stampin' Up! permeates my life! High quality & trendy products always coordinate! 


These 2x6 wood boards were in our yard (go on, hate me some more). I love wood projects and as such we never toss or burn scrap lumber. They are beautifully weathered!

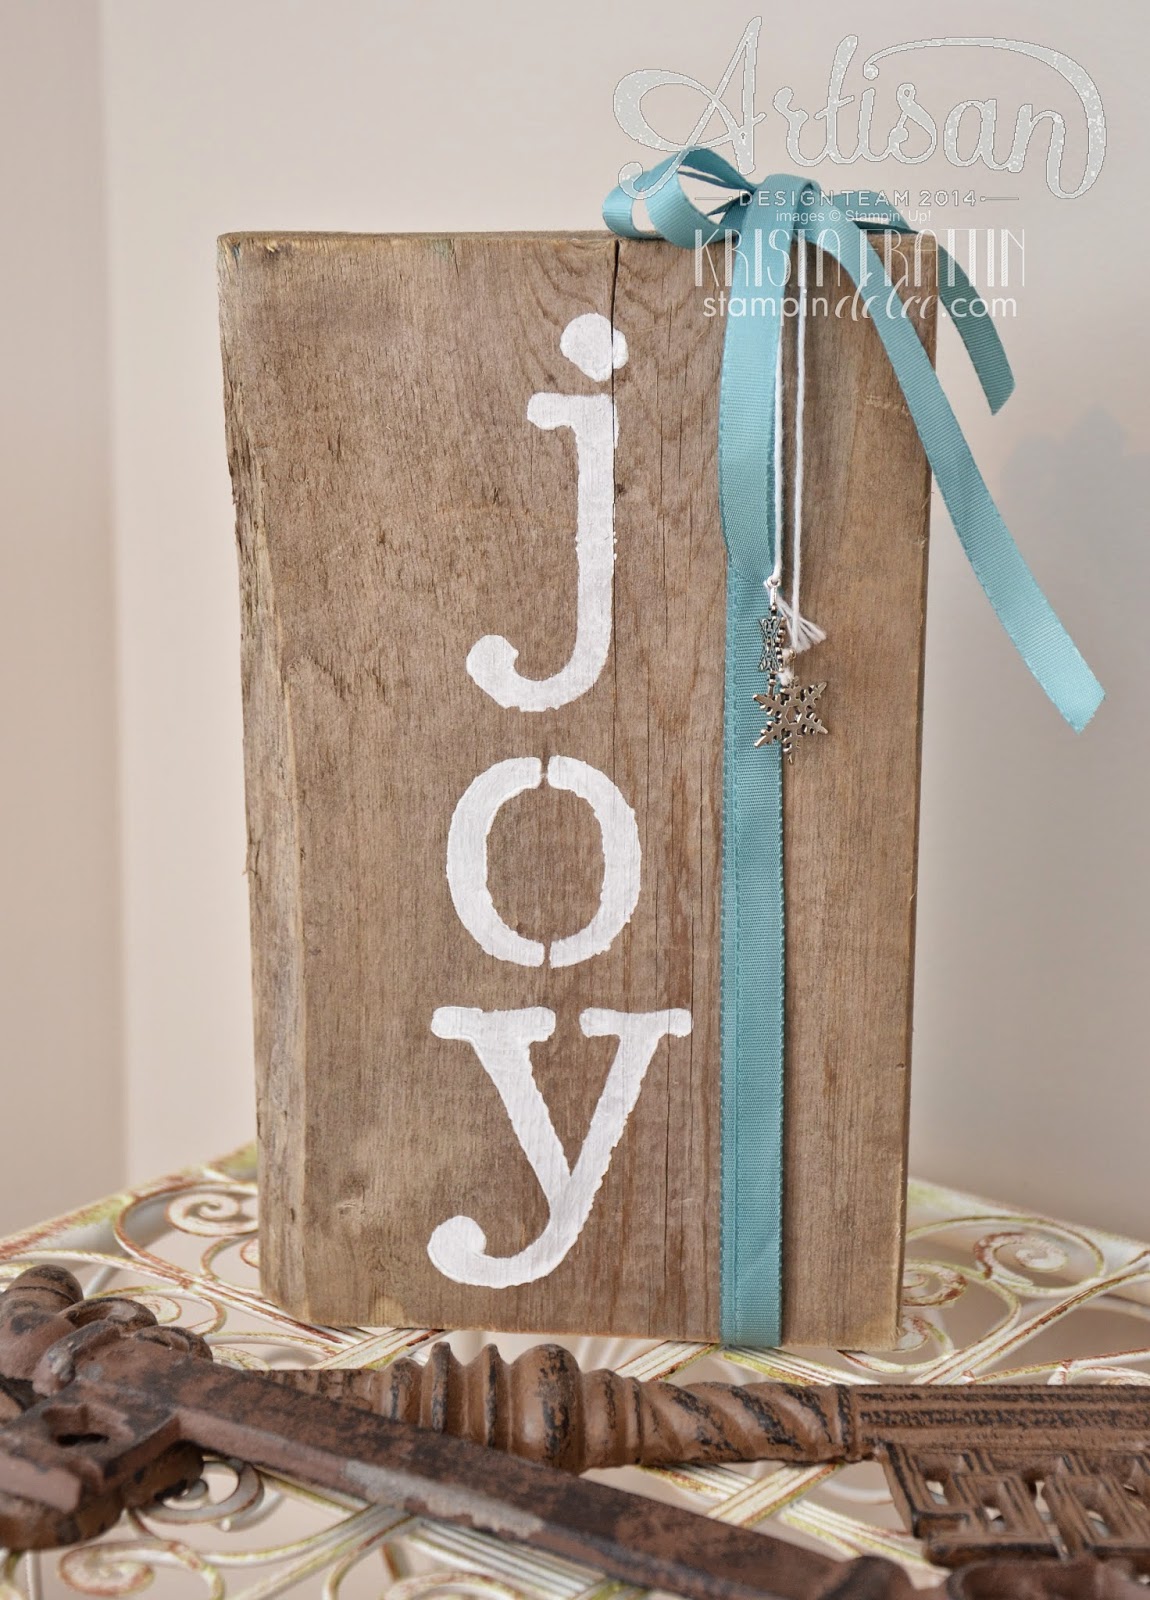
The tall board with the white "JOY" was painted free hand. The smaller "JOY" with red letters was painted using Stampin' Up!'s Build a Banner Simply Created Kit stencils. I tied the Cherry Cobbler 1" ribbon and in minutes these pieces were done!


This Christmas sign was painted on a ceder fence board. This board I had left from a Christmas Star project that I recently did for my Stampin' Dolce Winter Retreat. Ceder is my favorite wood to work with. The smell is divine!

I was worried tying a ribbon on this one and calling it a day was not enough WOW. So I made a sexy tag.


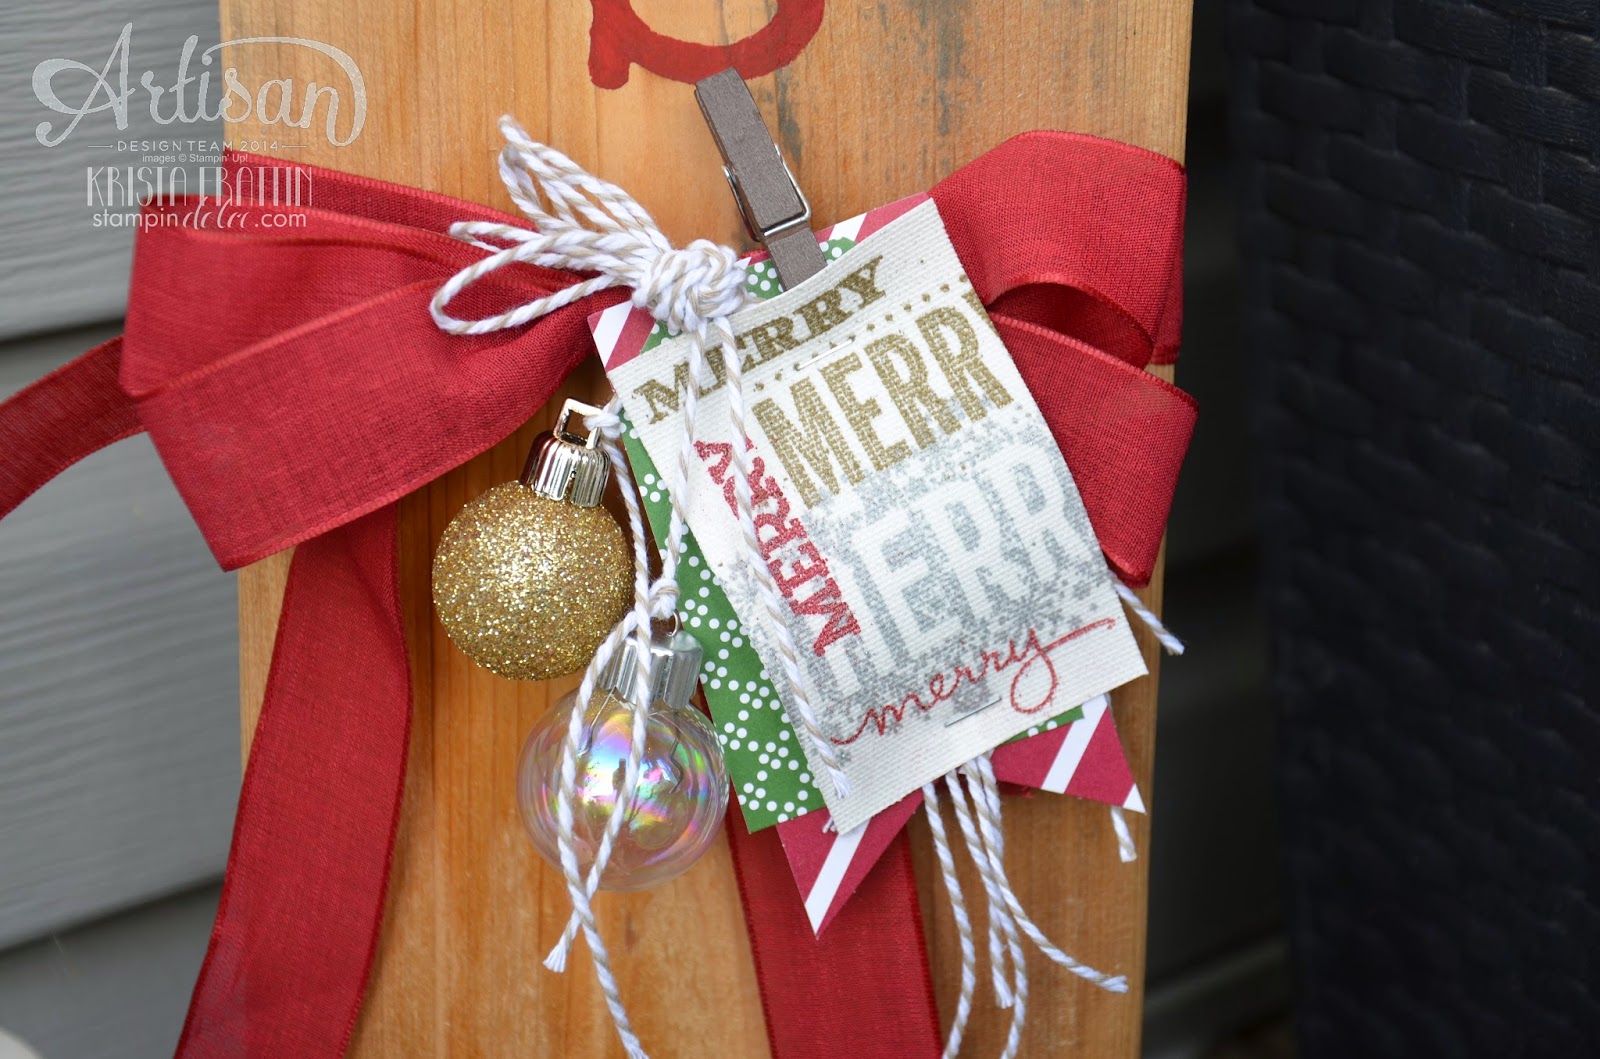
The "merry's" are on Canvas Creations and heat embossed. I thought this would keep the ink from running if it got damp in the snow. The funny thing I discovered is that when you heat emboss on Canvas Creations the embossing powder losses its sheen. It is almost as if it gets absorbed into the canvas. It has a cool mat finish to it.

So take a peek at my festive entrance to our home! Bet you want to come visit, right?

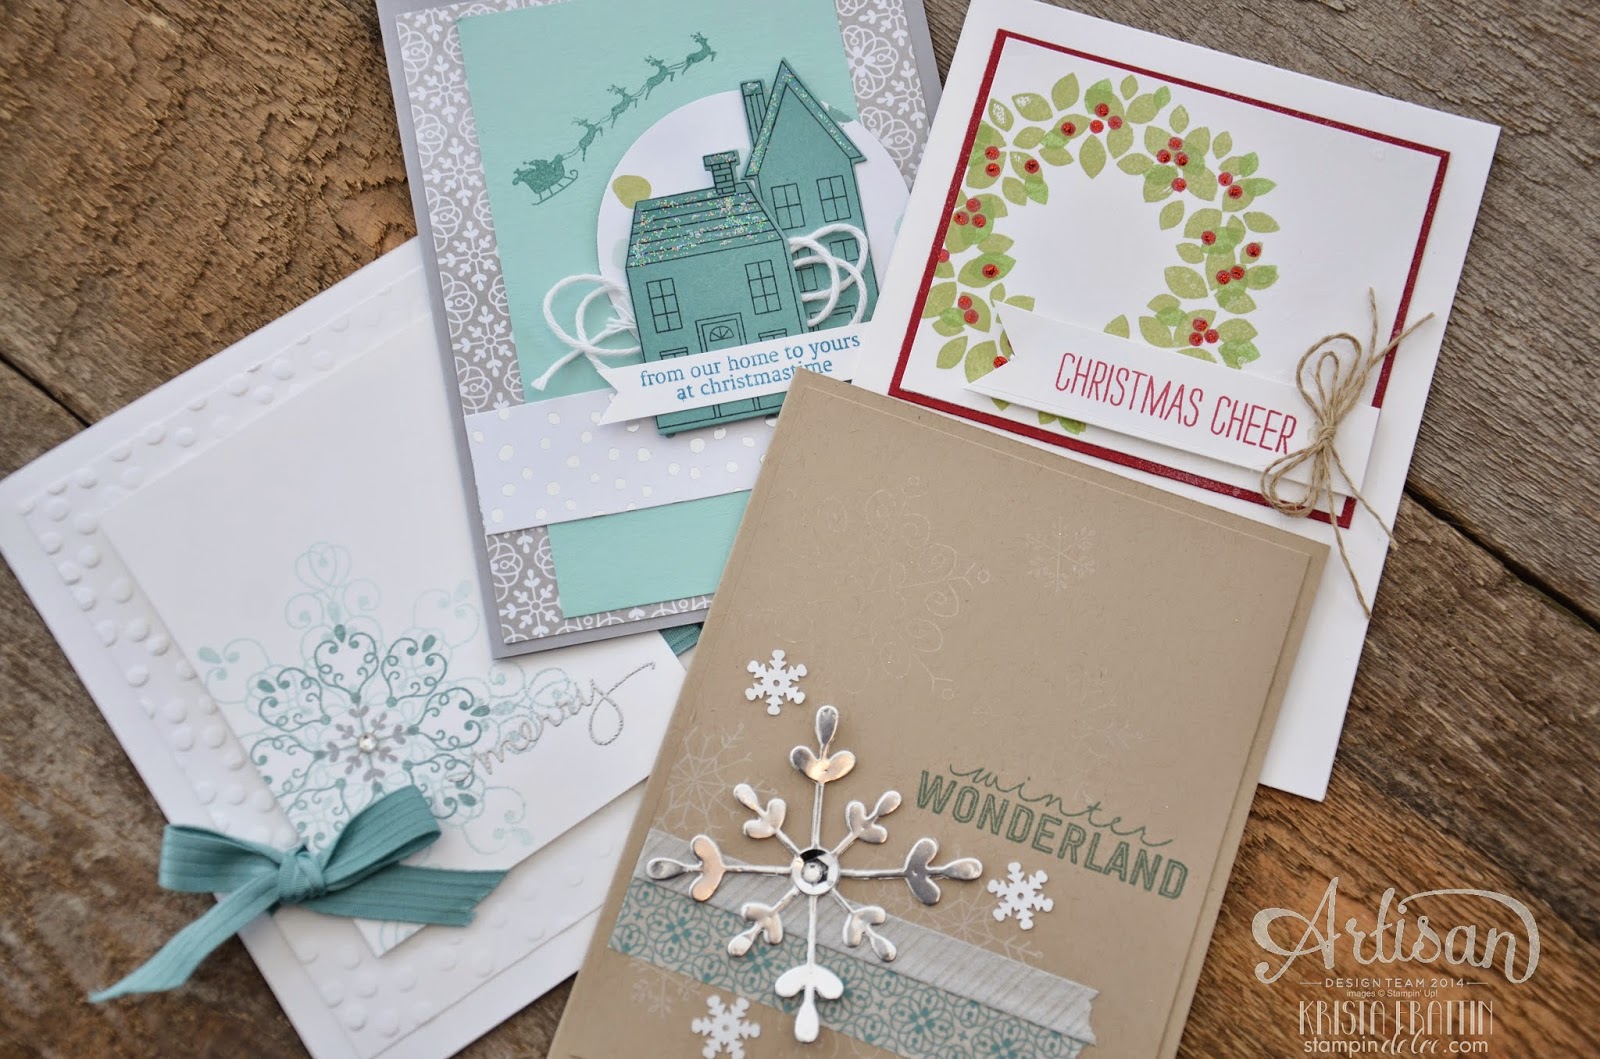
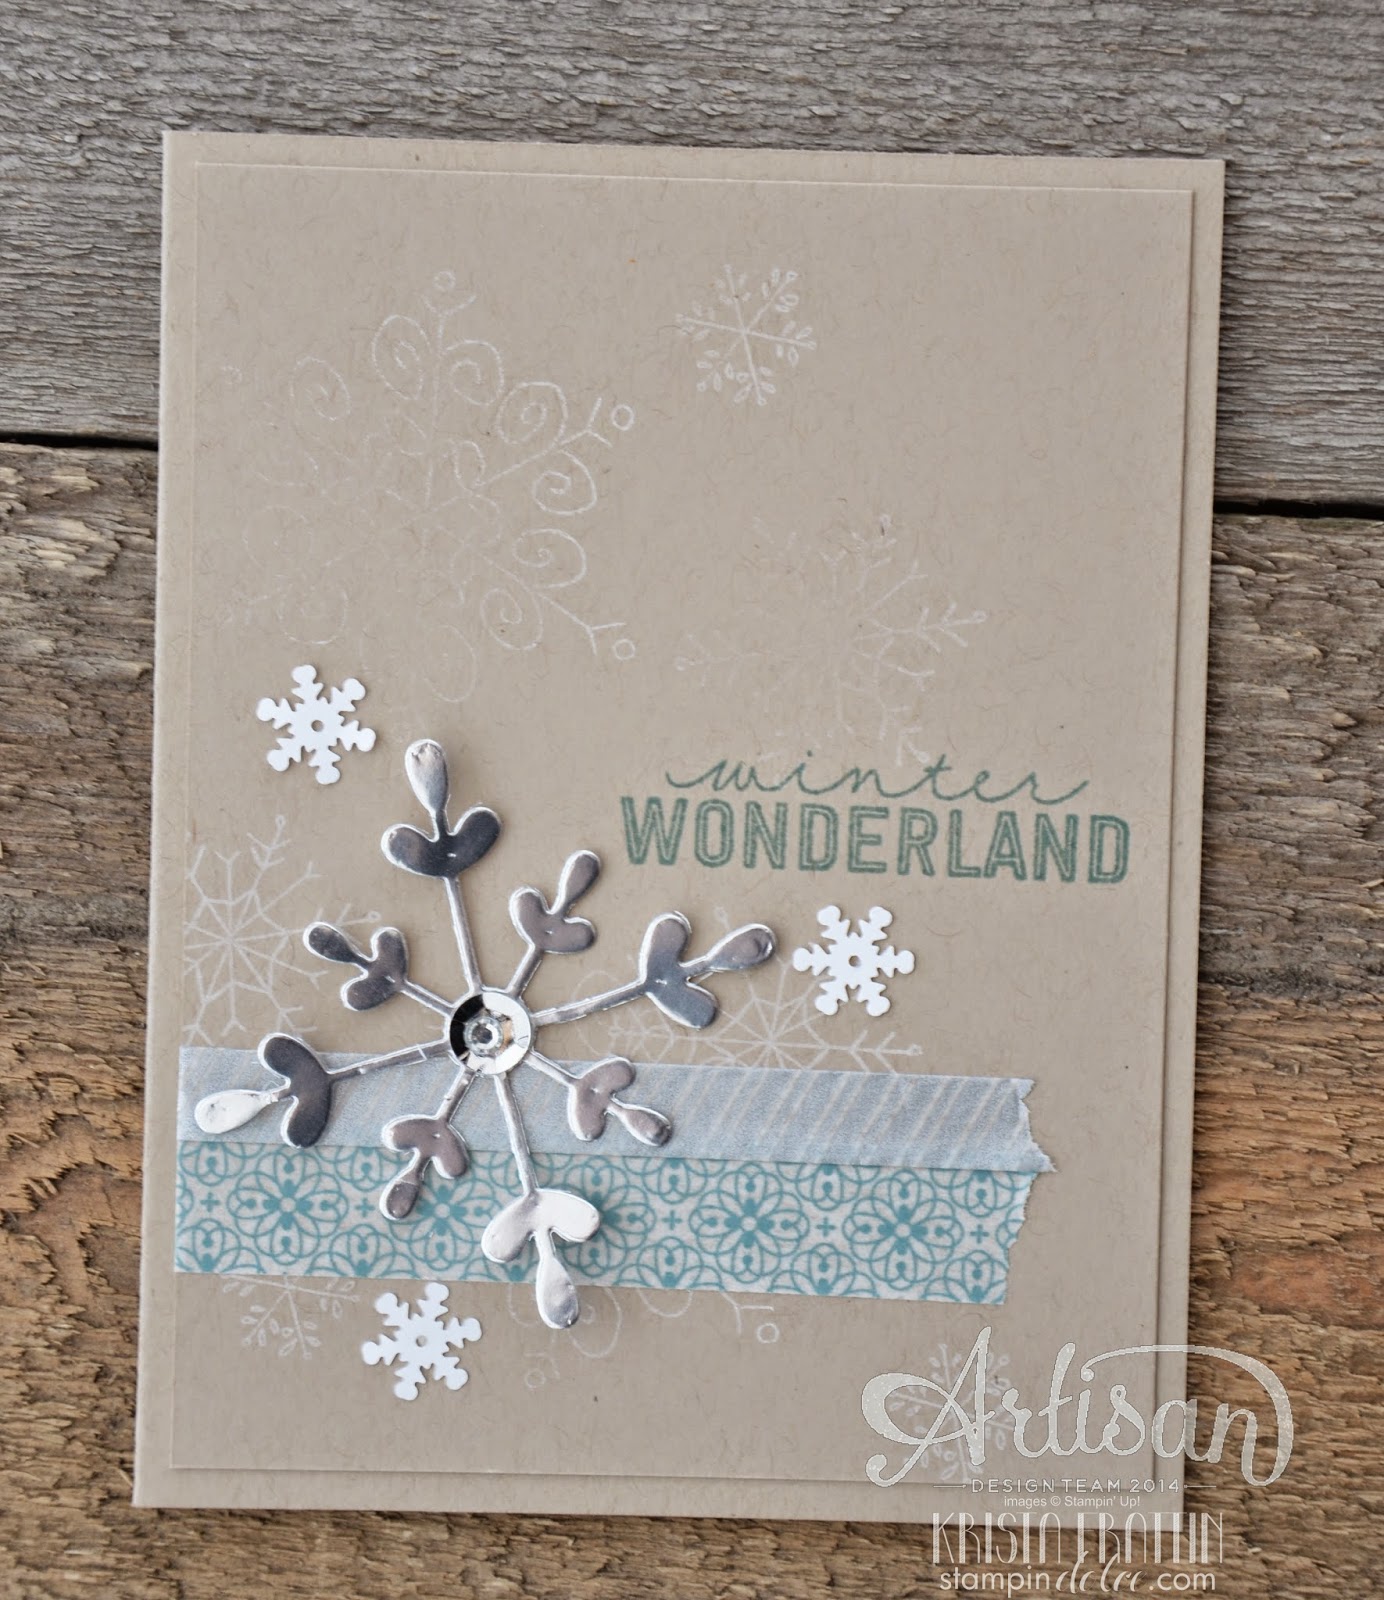
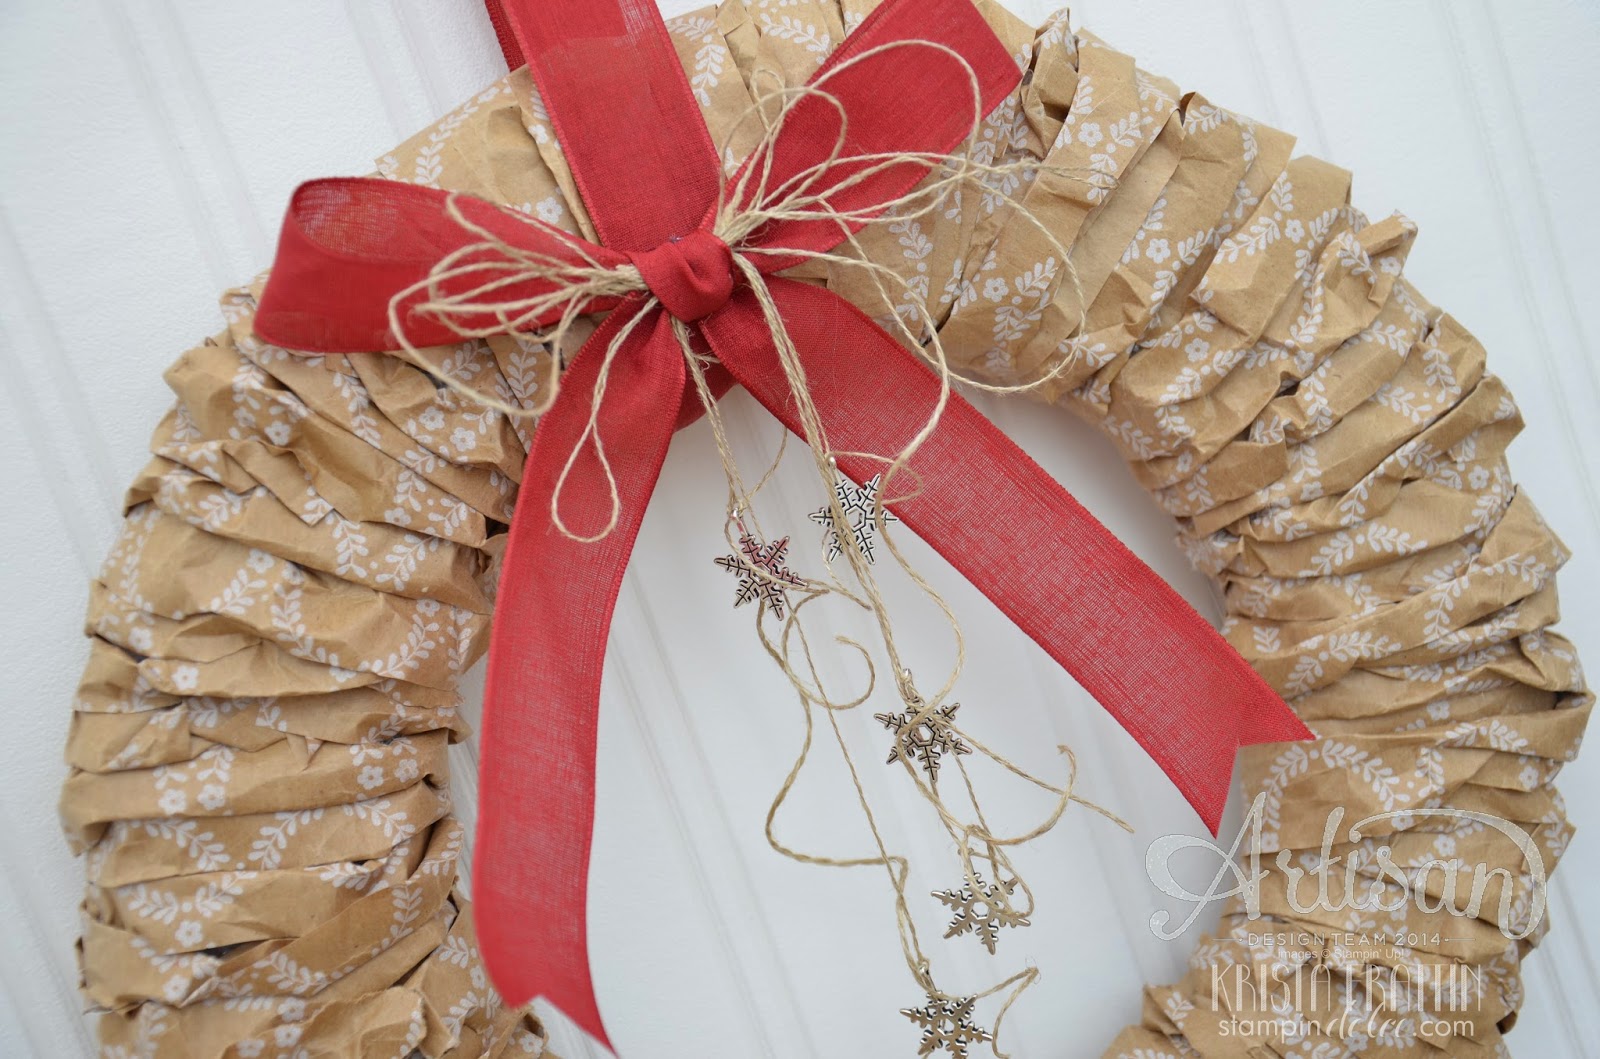
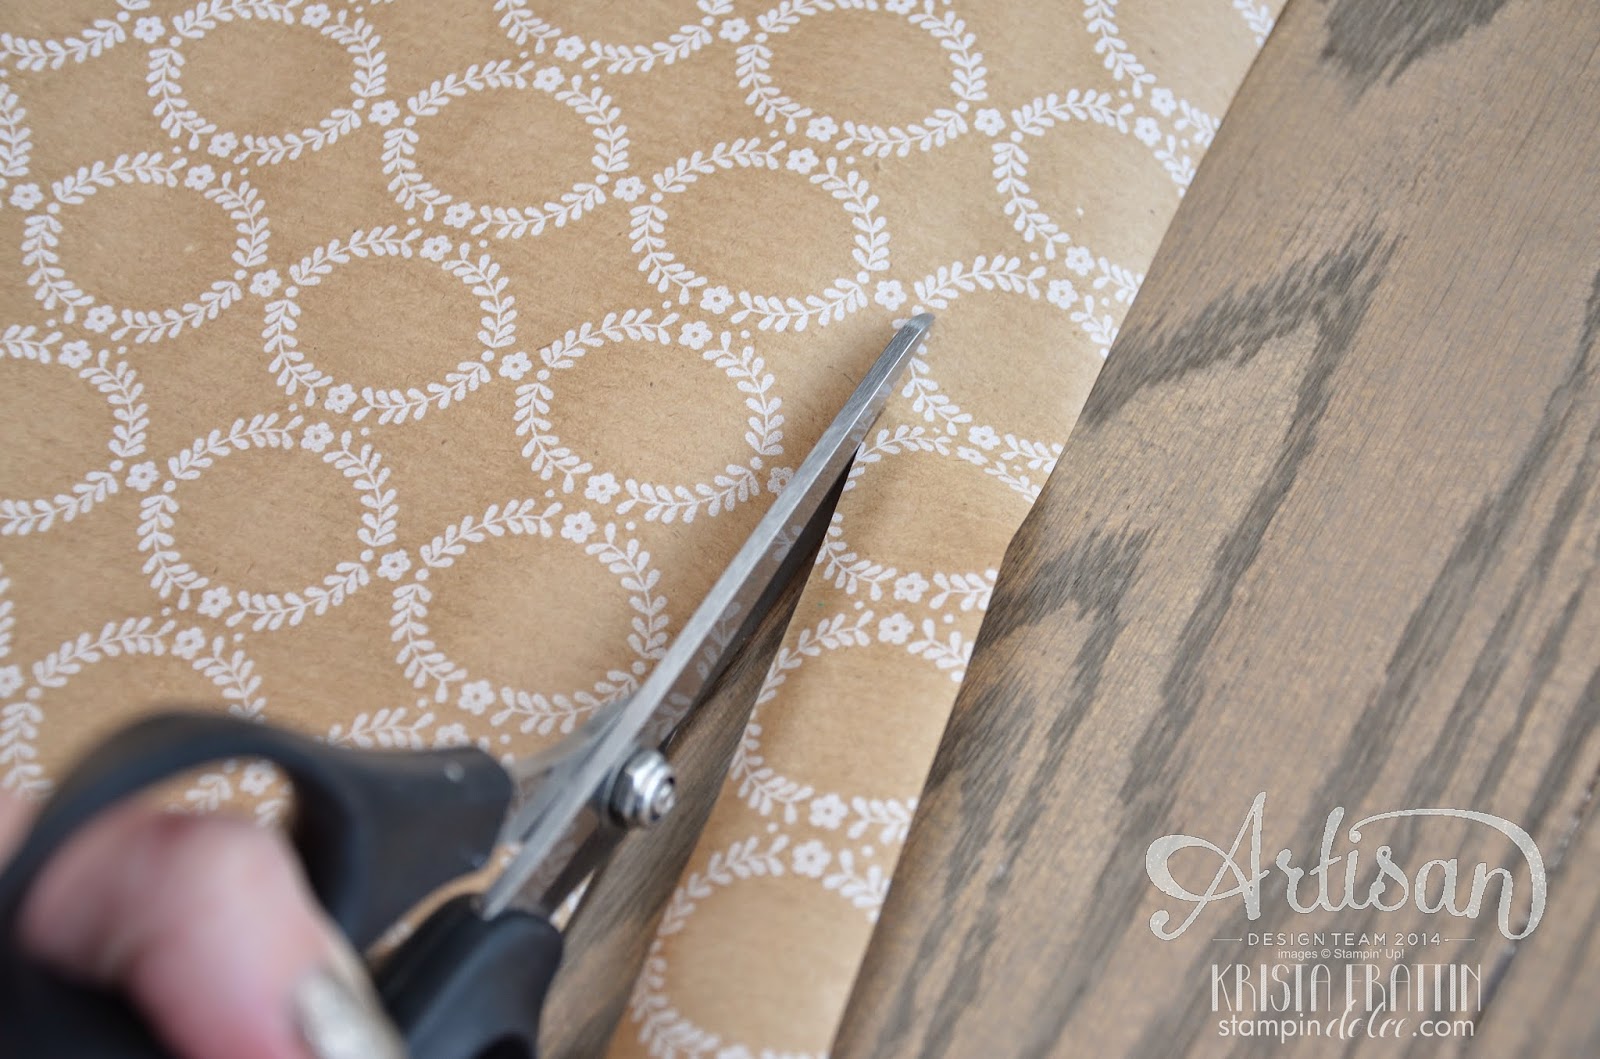
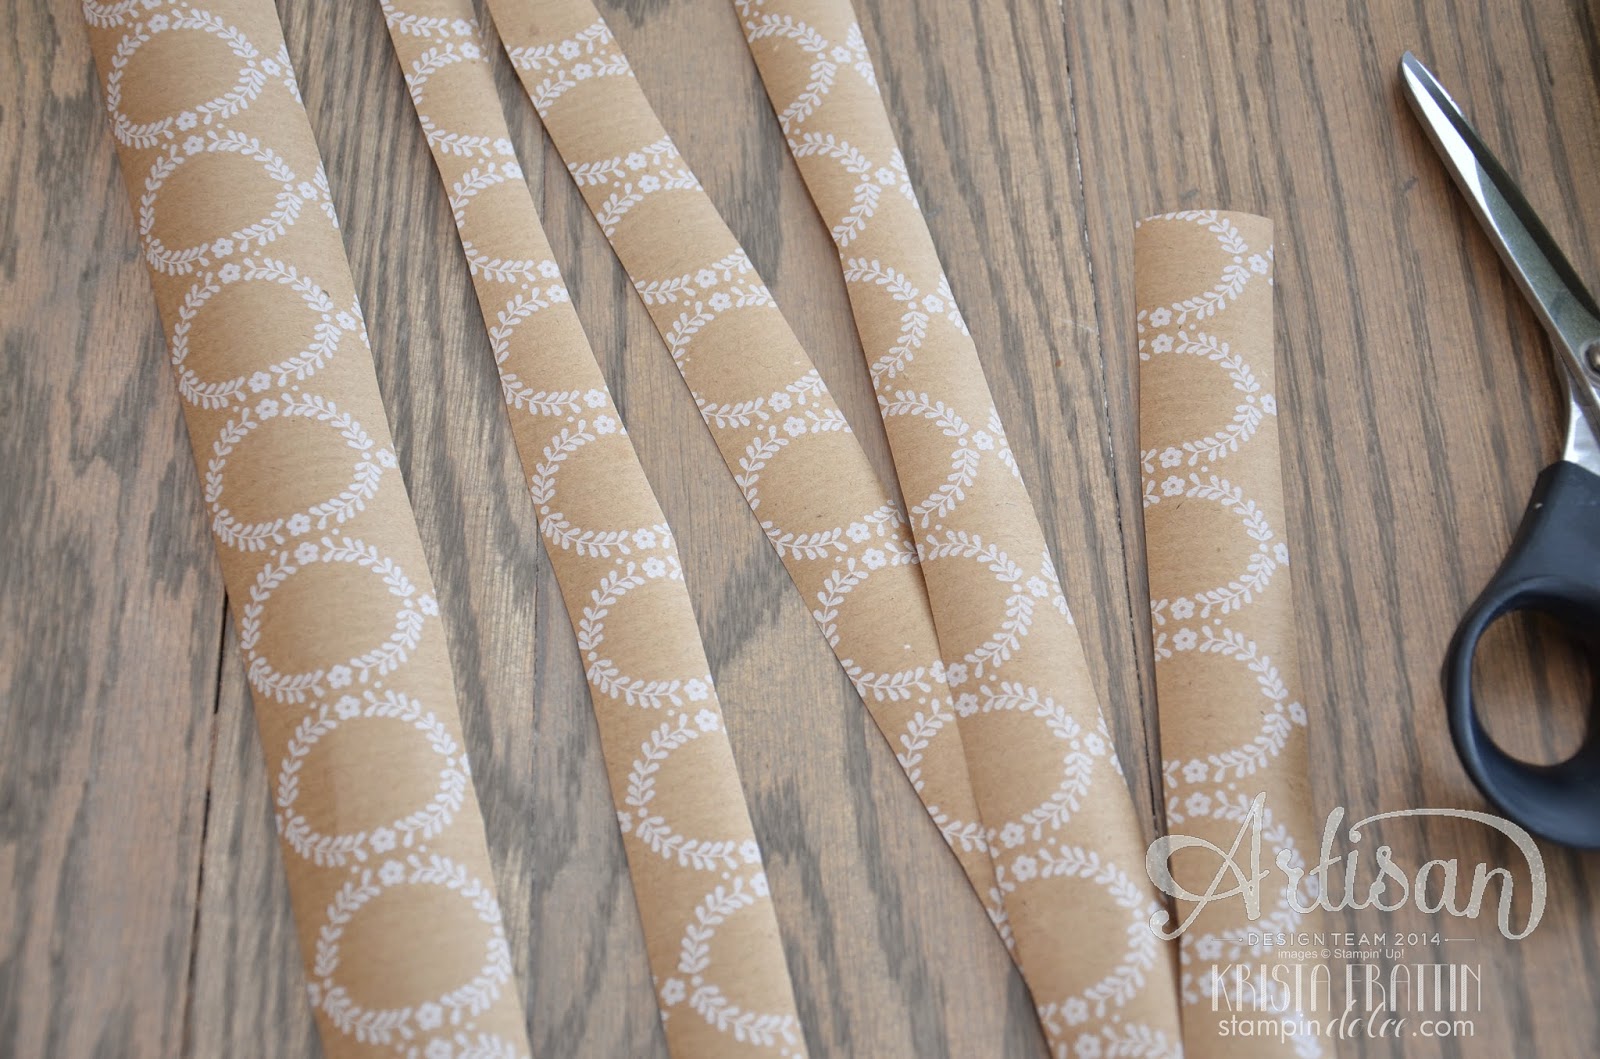
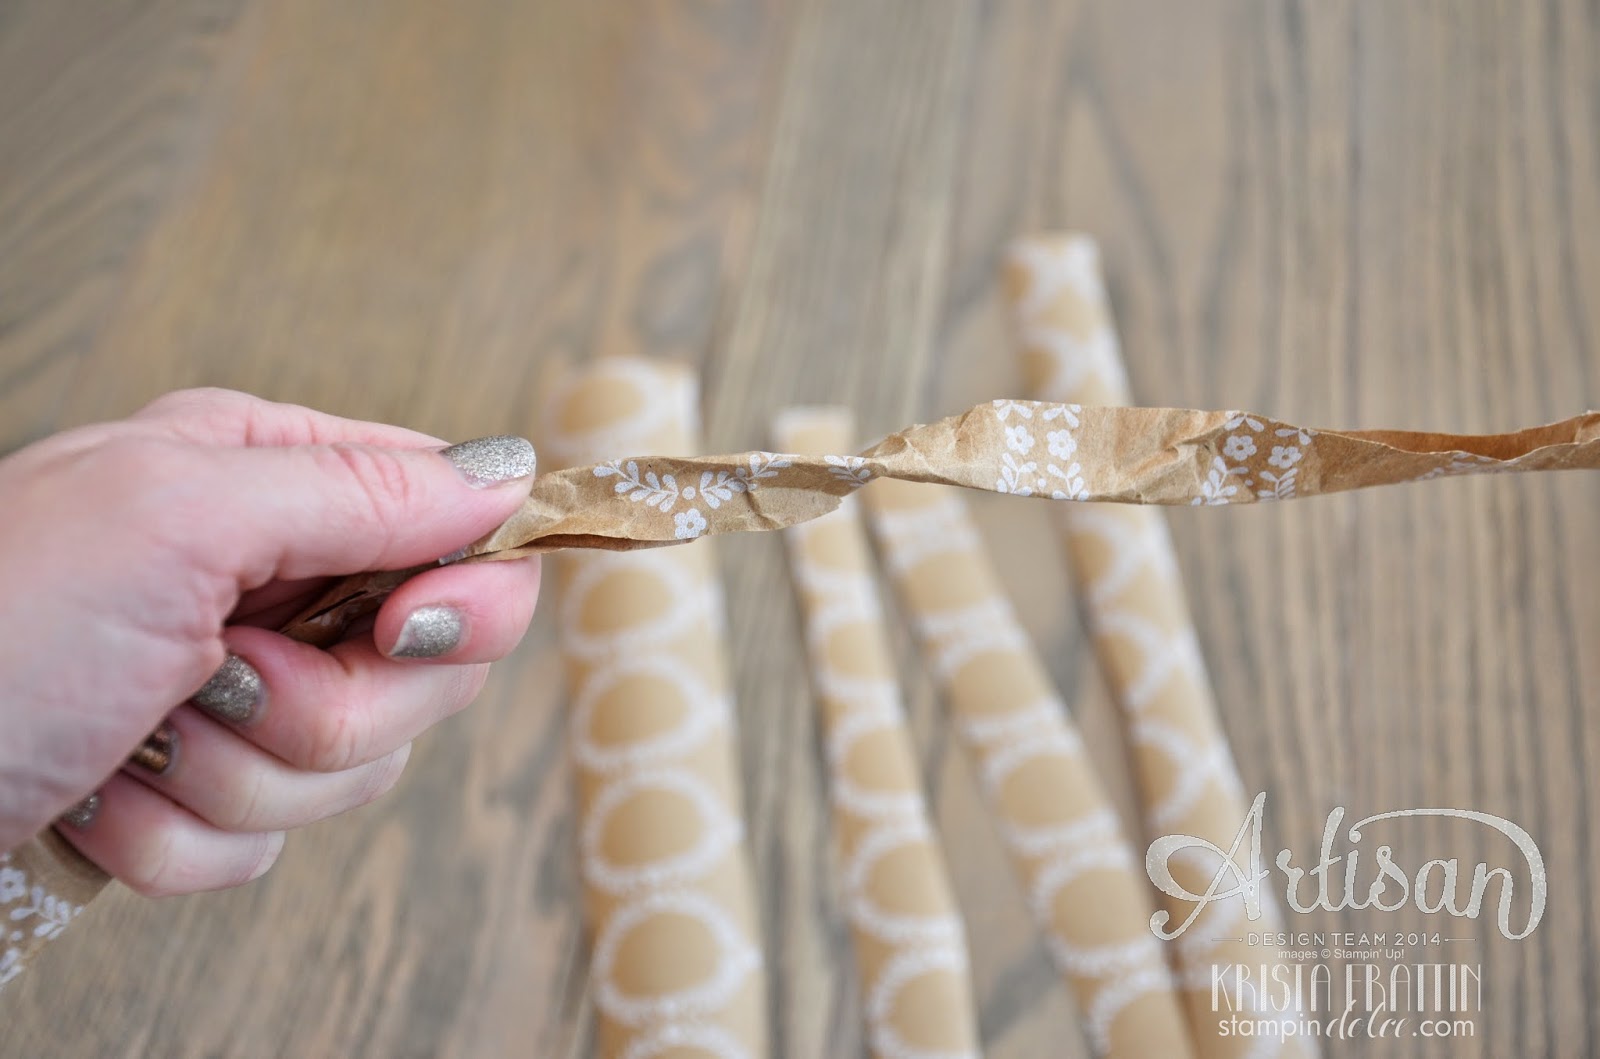
Now I have one last project before I run. These products are from the Artisan box that we are to use in December. But they just looked so stinking cute I could not resist a share!


Next up is the beautiful Lisa Harlow ... Hop over friends!

Have a creative day!

Hurry! Sale ends Dec 2 (while supplies last)


Built for Free Using: My Stampin Blog


Read more »

Friday, November 21, 2014

mommy & me holiday class

got kids? come craft!!

The cinnamon pressed clay ornaments are so much fun to create! You will receive a package of pressed clay to take home to make more ornaments - or anything else you desire!


did I mention that they smell soooooo good!!! 
Space is filling quickly. Register today!

Read more »

Thursday, November 20, 2014

christmas cards & cocktails

one of my favorite events of the year!

It just might be my favorite event because it involves Christmas projects. 
Or it could be because we have a couple of cocktails. Maybe.

Take a peek at the cards I have for this years event!

Merry card
  

Winter Wonderland card

Christmas Cheer card
 

Holiday Home card
Register today and do not miss out the fun!

Have a creative day!

Read more »

ornamental tag class!!


Is it a bird? Is it a plane? Is it a Tag? Is it an ornament?

These over the top gift tags are so stinkin' cute that they also can be hung on the tree as an ornament! You will love making these in my upcoming class!!


I do hope you can join us! Registration is closing this weekend so contact me to you get your name on the list! Only a couple of spots remain!

Have a creative day!

Read more »

Wednesday, November 19, 2014

wrapping paper wreath - artisan design team blog hop

Welcome back to the Artisan Design Team Blog Hop!

This week is our monthly post featuring our Artisan Design Team Facebook projects from the Stampin' Up! Facebook page. 

I wanted to find a creative way to use the Stampin' Up! wrapping paper. While surfing Pinterset I came across the Paper bag wreath on Popsugar's Blog. They created the cutest wreath out of recycled paper bags. Here is my spin on this simple wreath!


It really is a simple process ... a bit time consuming, but simple! I just put on a good movie on Netflix and got to it!
* Stampin' Up! wrapping paper
* hot glue gun
* 12" Styrofoam wreath
* scissors
Use scissors to cut lengths of wrapping approximately 1" wide.
I was not precise cutting the strips.
You can see that they vary in size.
Make a LOT of strips - you are going to need them!
Straighten out the strips and give them a gentle twist.
Wrap around the Styrofoam wreath and secure with the hot glue gun.
I finished off the wreath with some Cherry Cobbler 1" Sheer Linen Ribbon, Linen thread and All is Calm Snowflake Embellishments. I love the shabby chic look. It is perfect for my holiday decor!

Continue on the Artisan Design Team Hop and 
see what the talented Lisa Harlow has this week. 


Thank-you for reading! Have a creative day!


Built for Free Using: My Stampin Blog
Read more »

Subscribe

* indicates required