Saturday, April 26, 2014

Spring Retreat Treat Containers

Today I am stampin' the day away with some amazing ladies at my Spring Retreat. When they arrived this morning I had a little treat at their place.


I whipped up these treats in no time last night thanks to amazing kits from Stampin' Up! Inside are my FAVORITE candies! I found them last night at Save-On-Foods. They have not been around since last summer! Excited does not describe it!

I will post more from my Retreat soon! You have to be here this fall! We are having so much fun crafting, visiting and giggling! oh - and eating treats!!!

Have a creative day!

Krista


Treat container supply list
stamps
Oh, Goodie! (wood 131886, clear 131889)
ink
gumball green
kits
celebration basics kit (133007), tag a bag accessory kit (130153)
accessories
brights designer buttons (133028), crushed curry 3/4" chevron ribbon (130019)
Read more »

Thursday, April 17, 2014

fringe scissor fun

I have spend the last week working on my taxes. A shocking confession ... I am a terrible book keeper! I am so organized in every aspect of my life. But my business files are the exception. (well that and my scrap paper pile beside my paper cutter!)

I am terrible at printing off my monthly e-bills and order summaries for my demonstrator and customer orders. That meant that I spend a couple of days downloading, printing and organizing. 

I am happy to say that the file box walked out the door this morning with Arturo. Here is my annual pledge - I will be a better book keeper this year! (should we take bets if I actually will be??)

My reward for all of that excruciatingly boring work ... I spend the entire day Stamping!!! Just what the doctor ordered! Nothing makes you smile like getting creative!

Here is what I have been working on ... 

I have had my Fringe Scissors in my drawer for a while and I was not sure what to do with them. A quick browse on Pinterest inspired me to design this class! These are just a few of the techniques that you can do with these Scissors. They really are amazing!!

Here is a closer look at these 5 projects ...


Join me for this class! I would love to have you! Registration closes on April 25th, 2014.

I had so much fun today and I feel much better! Thank-you for visiting! I hope you have a creative day! 

Krista


Read more »

Sunday, April 13, 2014

diy Zfold card tutorial


On Saturdays blog I left you with a teaser for this card! As promised, here is the step by step to create this Z-fold card!


Wasn't that easy?! I love a card that is simple but has a wow factor. You can not help but to open and close it, over and over again! 

For the project supply list check out Saturday's blog post

Thanks for visiting! Have a creative day!

Krista


Read more »

Saturday, April 12, 2014

mothers day scrapbook layout & card

Saturday night and I am blogging ... what?! My husband and three children all have caught a spring cold. They all are sleeping and the house is very quiet. (yes, I am happy dancing! ... wait, not that they are sick! but because it is quiet!)

If you know me, you know I am a night owl. I thought a great way to spend my free Saturday night would be to share my April stamp club projects.

I am so loving these for a number of reasons! First, because they are celebrating Mothers Day. I come from a family of amazing women. My Grandma and my Mom are to blame for my crafty addiction. They both were always busy with one type of project or another when I was growing up. Board was a "bad word". (I'm serious, ask Grandma for yourself!) If we did not have something to do we would bake, sew, knit, or we busted out the hot glue gun!

Next to crafting my Grandma's 2nd favorite past time is suntanning! Yes, suntanning!!! Baby oil and all! The minute the snow melted and the sun started to shine Grandma would drag her sewing machine outside to sew in the sun! Now if that is not a serious crafter I do not know what is!

Mom and I in 1979 (I know, I am so young!, right?!).
My Grandma Rita


I have so many memories of time well spent with my Mom & Grandma crafting. I am thankful that they both gave me the gift of being crafty. I still, to this day, call both of them with baking and crafting emergencies looking for advise! 

The second reason I love these layouts is the white. I am addicted to white. The fresh new trend is taking over my projects and my home decor! We have been working over the last year renovating our house. I will have to share pics in a blog post with you soon. I am super happy with the progress!

My card clubs create cards that coordinate with the scrapbook layouts. It gives me a chance to show product versatility. I have clubs that are half card creators and half scrapbookers. Matching projects mean that my customers can attend events with their friends, even if they desire different make and take projects.

mothers day card

birthday card

You will have to come back tomorrow for the tutorial to create this Z-fold birthday card! It was a show stopper this month and my customers are already asking for the DIY blog post!

Thanks for reading friends! I hope you have a creative day!

Krista

project supply list
paper
Whisper White, Smoky Slate, Crushed Curry, 
Eastern Elegance Designer Series Paper (130131), White Vellum (101856), Fancy Foil Designer Vellum Silver (133364), Foil Sheets Silver (132178), Creped Filter Paper (129393)
ink
Metallic Encore Pad Silver (132142), Crushed Curry, Coastal Cabana, Smoky Slate, Blender Pens (102845)
stamps
Another Great Year (wood 133038, clear 133041), Feels Good (wood 131916, clear 129684), Amazing Family (wood 131907, clear 129192)
accessories
Whisper White Bakers Twine (124262), Vintage Faceted Buttons (127555), Silver Embossing Powder (109131), Tea Lace Paper Doillies (129399), 
tools
Heat Tool (129053), Bone Folder (102300), 1/2" circle punch (119869), Bitty Butterfly Punch (129406), Elegant Butterfly Punch (127526), Blossom Punch (125603)
Read more »

Friday, April 11, 2014

a wonderland birthday using My Digital Studio


In October my oldest daughter turned 7! It has been on my "to-do" list to share the party details with you on my blog. As the old saying says ... where does the time go?! 

As you know I love party planning. Especially for my children. I take pride in all the little details. Creating each invite, banner, cupcake topper, loot bag and decoration gives me time to think about them. Only them. I have a cheesy way of reflecting on the way they are growing and the little people that they are. 

MDS (My Digital Studio) was the starting point for this party theme. When I planned A's Construction birthday this year, MDS had the perfect digital download that made my party planning a breeze. Seriously, once you go MDS you will never go back!!! 

So I sat J down at my on-line MDS digital download store and told her to pick! This is was the favorite:

Download includes:
* Thank you greeting card template (5" x 3-1/2") 
* Double-sided invitation postcard template (5" x 7")
* 5-page décor template (8’1/2" x 11")
*49-piece stamp brush set
* 12 Designer Series Papers
* 9 embellishments
* 2 punches 

Features: 
* Digital exclusive
* A sweet escape to a magical world of wonder
* Décor template includes a banner, food flags, framable, and treat toppers 

The colors were perfect. J just did not want a "tea party" theme. Thankfully, all of the MDS templates are completely customizable. With a few clicks of a mouse I quickly changed the banners and invitations. 

 postcard invite front

postcard invite back

I used Stampin' Up! print services to print all of the projects. I really do love our print services. I often get asked "why print with Stampin' Up!" ... well, here is my why:

1.  The cardstock quality is outstanding. You can choose a standard paper weight or heavy weight.
2.  The print quality is outstanding! 
3.  The colors are calibrated to Stampin' Up! color families. Who doesn't love matchy-matchy!! When I print at home (or another retailer *gasp*) and the the color is off, it does not match my cardstock or ribbon. Total first world problems!
4.  The print services pricing is competitive ... ah, and hostess benefits for qualifying orders! (And as a demonstrator I get a fab discount!) 
5.  I order on-line and they deliver to my door.

Our package arrived a couple of weeks later. We had a small amount of cutting and assembly. Here is the party outcome!

the treat table

 treat table close up

The banner was cut out with the paper trimmer. 
I used hot glue to fasten the Island Indigo Bakers Twine to the back side of each banner.

 The printable was framed in an inexpensive frame from Home Sense (my fave store!)
I baked & decorated the cake. I went for a simple vanilla buttercream swirl. Cute, right?!

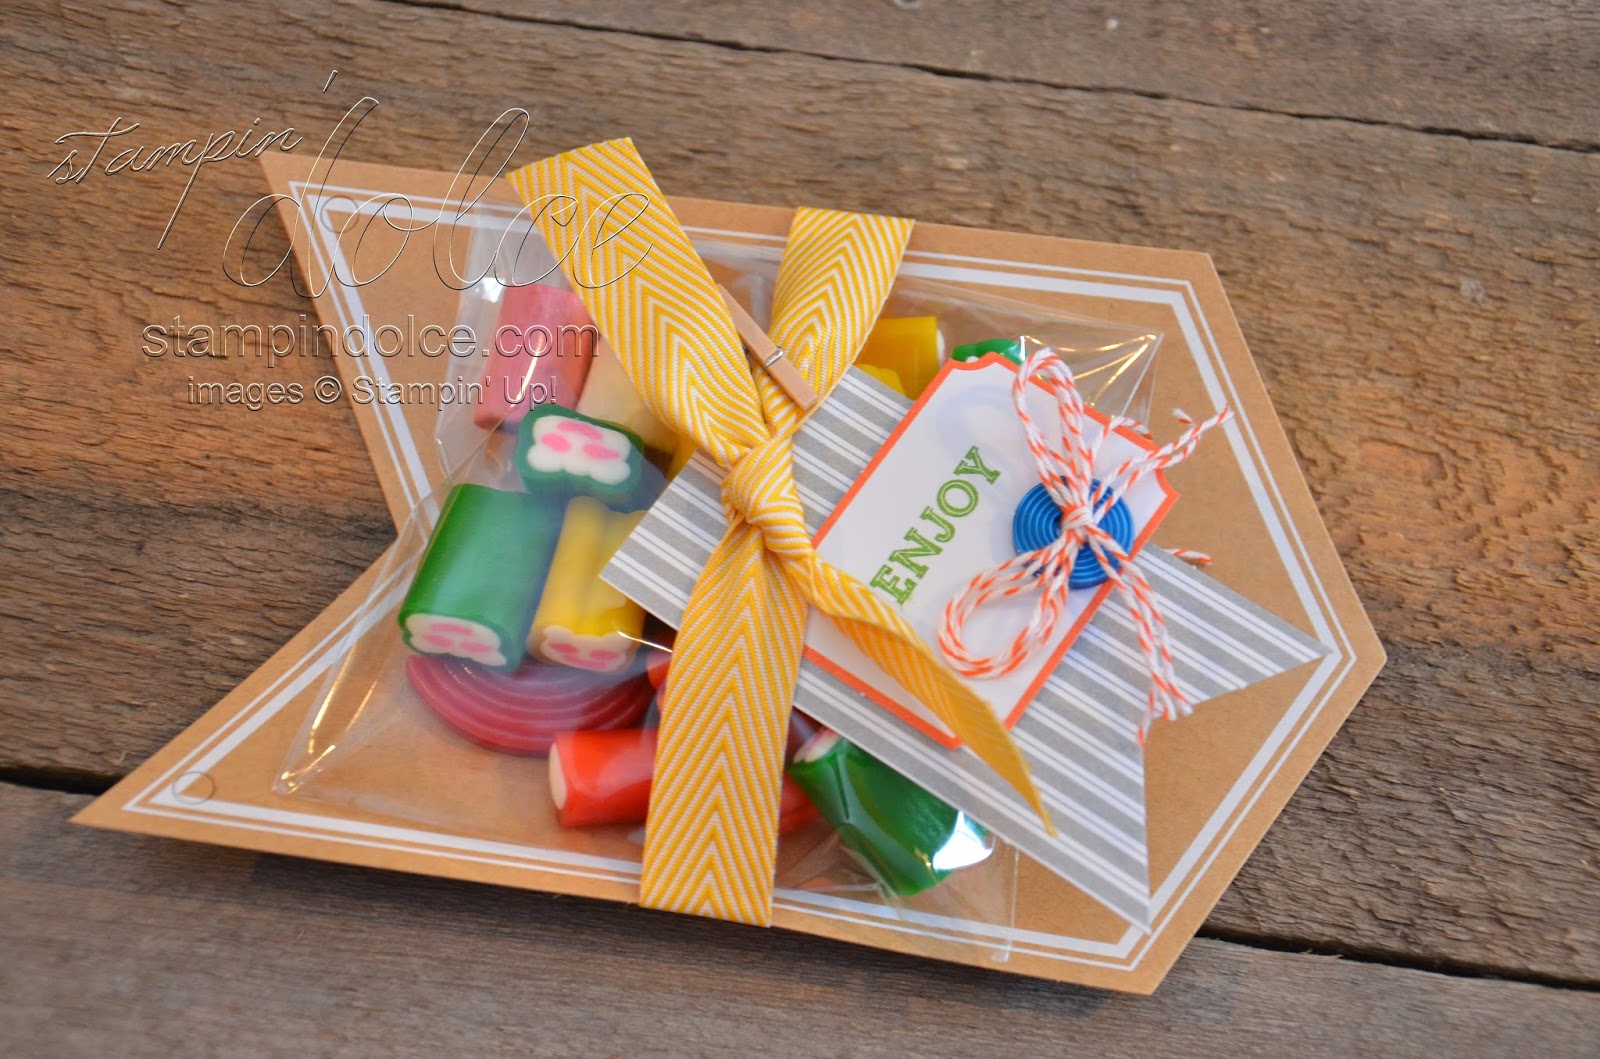
 A party needs candy! I tied ribbon on glass jars and stuck in a flag. 
Quick and beautiful!

My stainless steel tubs are a party decor staple for beverages.
You probably have noticed them at a few parties now! 
Stampin' Up! ribbon on the handles and a little flag dress them up for each occasion.

 This banner was not created with MDS. I used my Big Shot to cut out a veriety of circles. I used cardstock to coordinate with the MDS Wonderland Party Ensamble. I sandwiched circles of the same size & color on a piece of Whisper White bakers twine with hot glue. They were magical hanging from the ceiling.


A simple staples fastened the favor bag "thank-you" to bags I purchased at the party store.
A little Stampin' Up! ribbon on the handle was the finishing touch.

Stampin' Up! is always on top of color trends. When I took my MDS printed projects to the party store I had no troubles finding tables clothes, cups, plates, cutlery, napkins and bags that matched perfectly! I was in heaven!!!

It all came together perfect and J was so happy with her party! It was a great day to celebrate!


I hope you have found some MDS party inspiration! Did you know that you can try MDS free for 30 days? click this link! I offer free MDS training to my customers. I am happy to have a coffee date and run through some tricks and commands to get you started!

Thank-you for reading! I hope you have a creative day!

Krista
Party Stampin' supply list
CARDSTOCK
Whisper White, Blushing Bride, Going Grey, Island Indigo, Melon Mambo, Pool Party
ACCESSORIES
Whisper White Bakers Twine (124262), Island Indigo Bakers Twine (125575), Melon Mambo Taffeta Ribbon (131207), Basic Grey Stitched Grosgrain Ribbon (126879), Blushing Bride Stitched Grosgrain Ribbon (131209), Coastal Cabana Ruffle Stretch Trim (130024)
TOOLS
Big Shot Die-Cutting Machine (113439), Cirlces #2 Originals Die (114526)
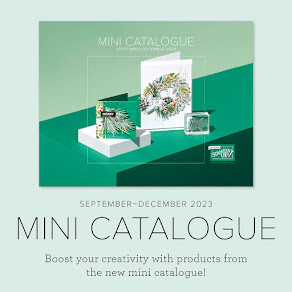
MDS
Software $24.95  130646
Wonderland Party Ensamble $16.50  134594


Read more »

Thursday, April 10, 2014

glass block watercolor background

 Life is back to normal this week in the Frattin house. Spring break is over, the kids have returned to school and the routine has fallen back into place. I have been working all week getting caught up with my taxes. Each year I say that I will be a better book keeper ... but it never happens. Seriously, who wants to file paper work when we could be Stampin'!!!

Today I wanted to show you an easy water color technique!

When I watched Brian Pilling from Stampin' Up! show off this watercolor technique on stage at Leadership in January, I knew I could not wait to get home and share with all of you. Stampin' Up! has great video of the watercolor glass block technique on YouTube. (yes the video is the fabulous Brian himself!)

When we attend a Stampin' event it is a title wave of information. I died when I saw this and frantically wrote notes down. Thinking I had remembered exactly what Brian taught us, I showcased this technique in my March stamp clubs. 

Then I found the Stampin' Up! video on YouTube. Well, now that I watched the video I realized I deviated a wee bit. BUT the good news - it still worked! It is always good to have options, right?! So read on to see how I got the watercolor back ground ... 


 squeeze your ink pads together while they are closed.
this will transfer the ink from the foam pad to the underside of the lid.

 make sure your aqua painter is filled with water.
gently squeeze a small amount of water onto the ink pad lid.
mix the water with the ink and pick-up on the aqua painter brush.

 paint the water and ink mixture onto half of the clear block.
rub your aqua painter on scrap paper (or a paper towel) to remove the color and clean the brush.
repeat step 2 to ink the aqua painter in the second color.
paint the second color to the other half of the clear block.

 stamp the glass block on your cardstock.
hold the block on your cardstock for a moment so all the water is absorbed.

ta-da ... your watercolor back ground!
allow to dry (or dry with your heat gun) and then stamp over with  your choice of stamp


This background technique is organic ... it will be different every time you do it. So do not be discouraged if it does not look exactly as mine does. 

A quick tip ~ ensure you have enough water on the glass block. Just do a couple of practice stamps. You do not want it too dry, or it will not transfer. Too wet and it will drip all over. 

I would love to see what you create with this simple background technique! Take a picture and share with me!

Thank-you for reading!! Have a creative day!!

Krista
Project Supply List
Cardstock
Whisper White, Soft Sky, Pistachio Pudding
Ink
StazOn Black Ink, Wild Wasabi, Coastal Cabana
Stamps
Serene Silhouettes (132082 wood, 126447 clear)
Happy Day (130294 wood, 130297 clear)
Accessories
Whisper White Bakers Twine (died with pistachio pudding reinker & rubbing alcohol)
Essential hardware clips (129964)
Tools
Dotted scallop ribbon border punch (119275)


Read more »

Subscribe

* indicates required