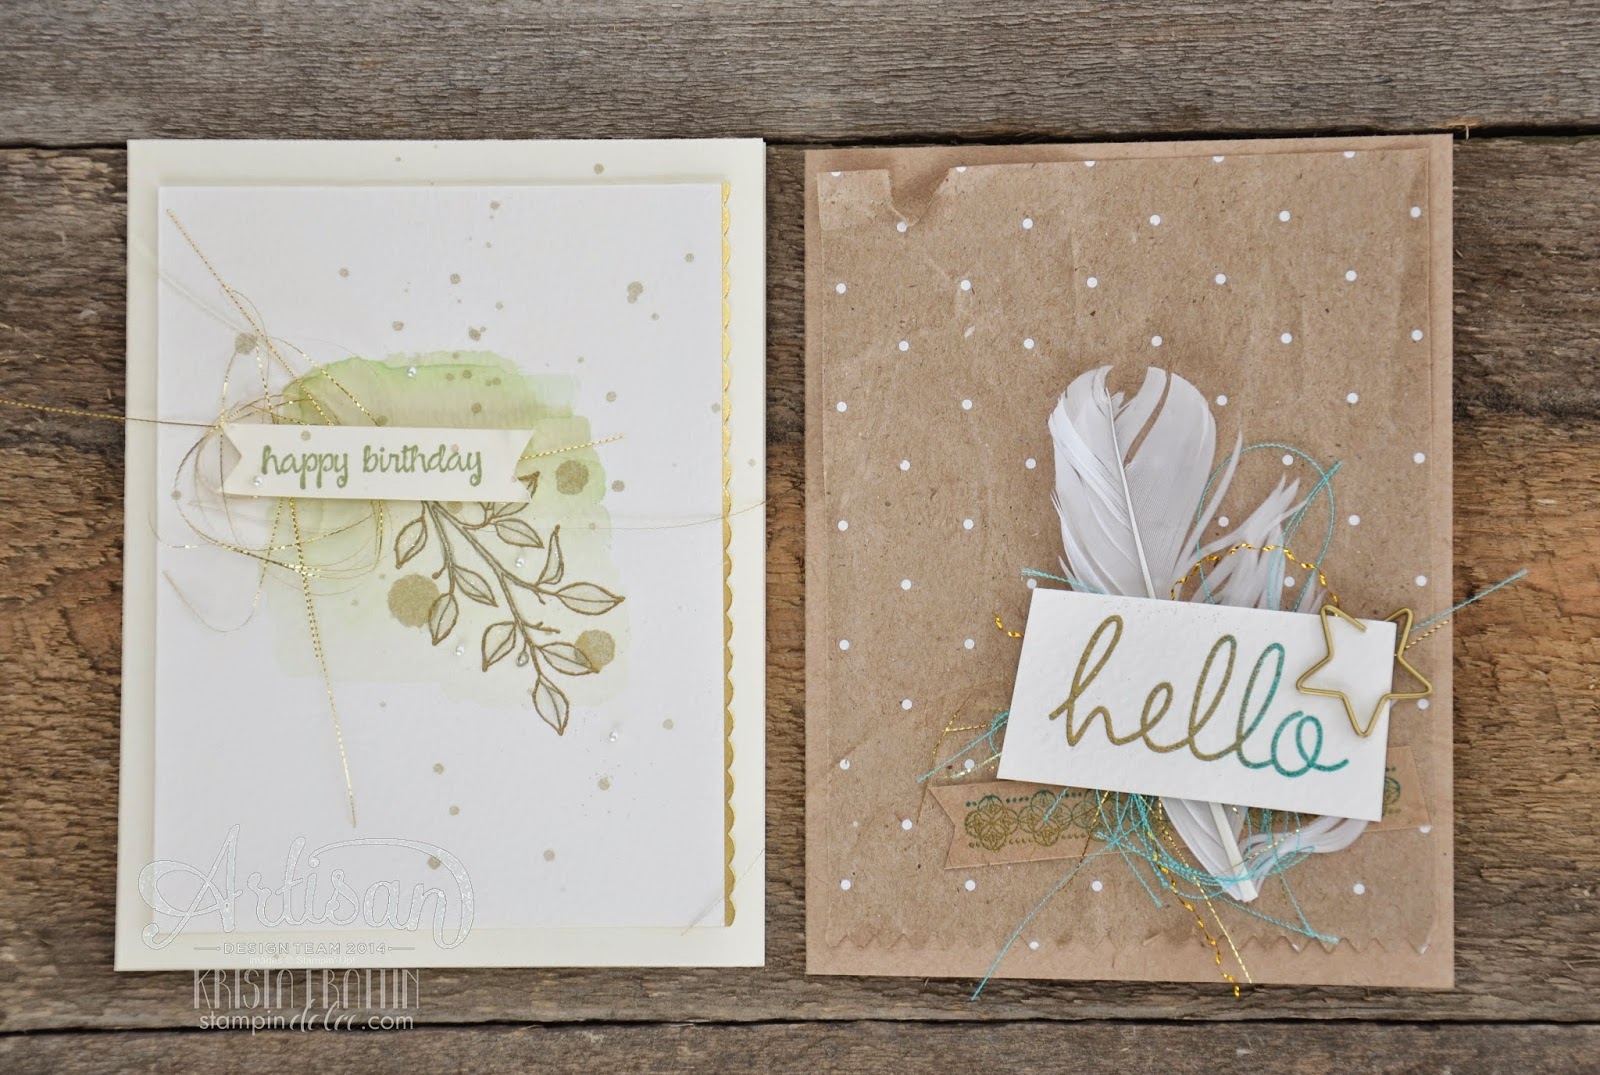
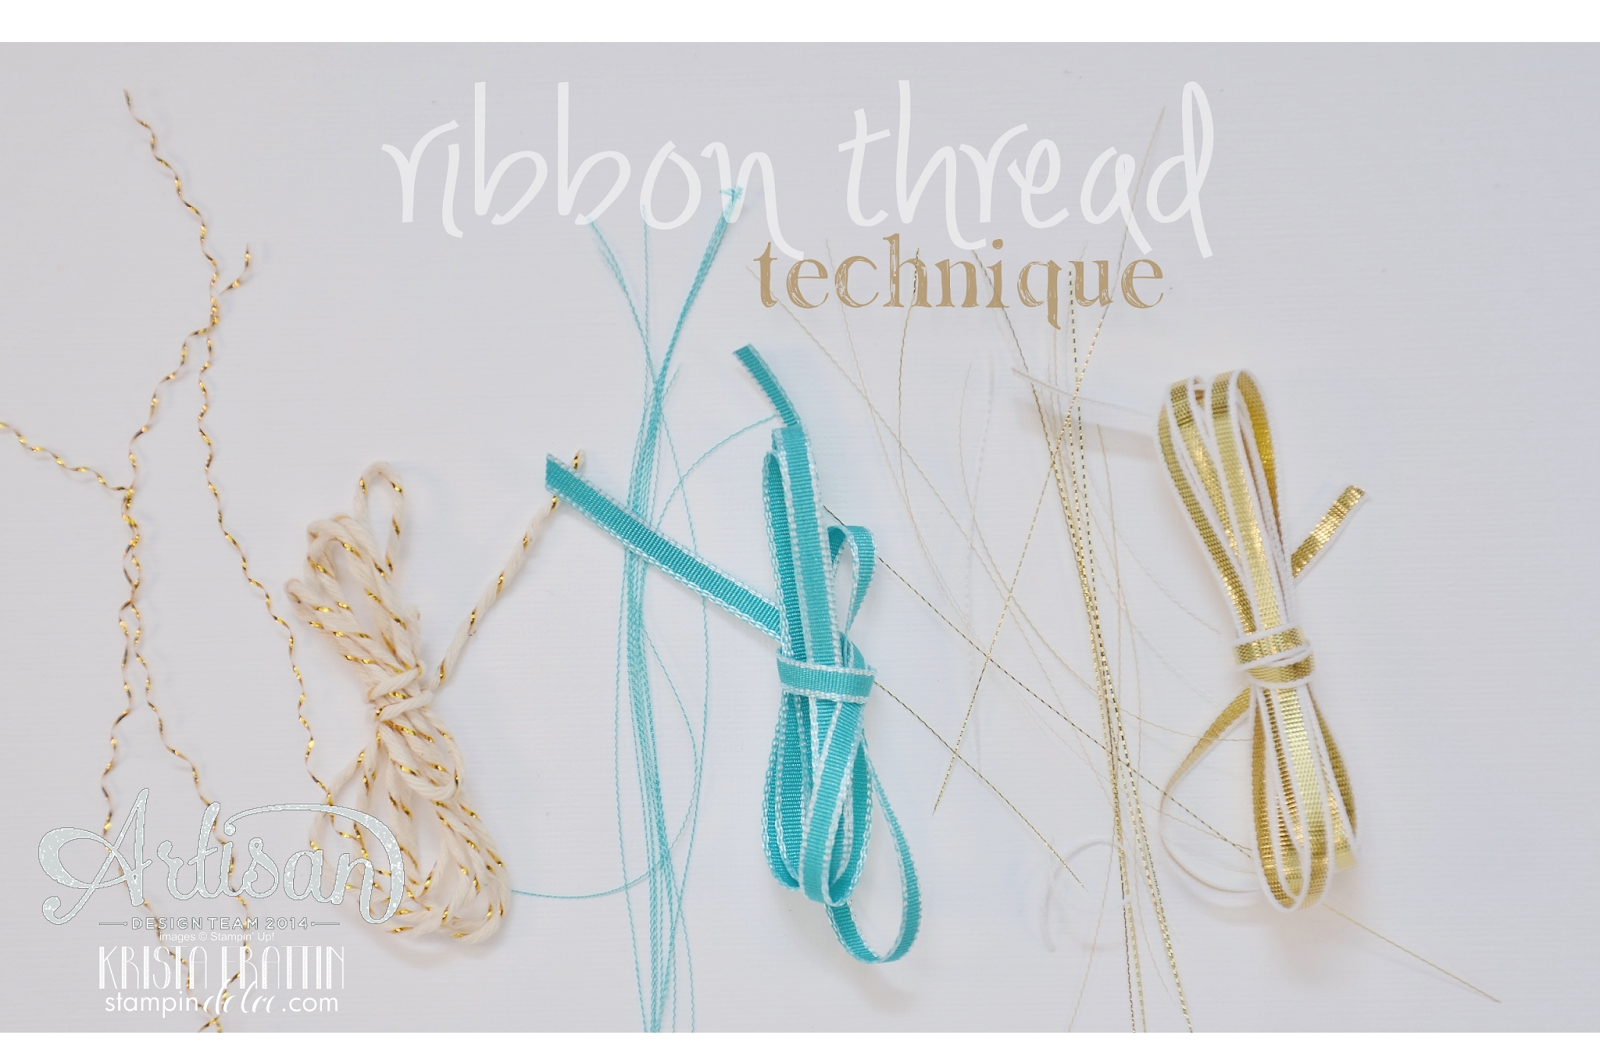
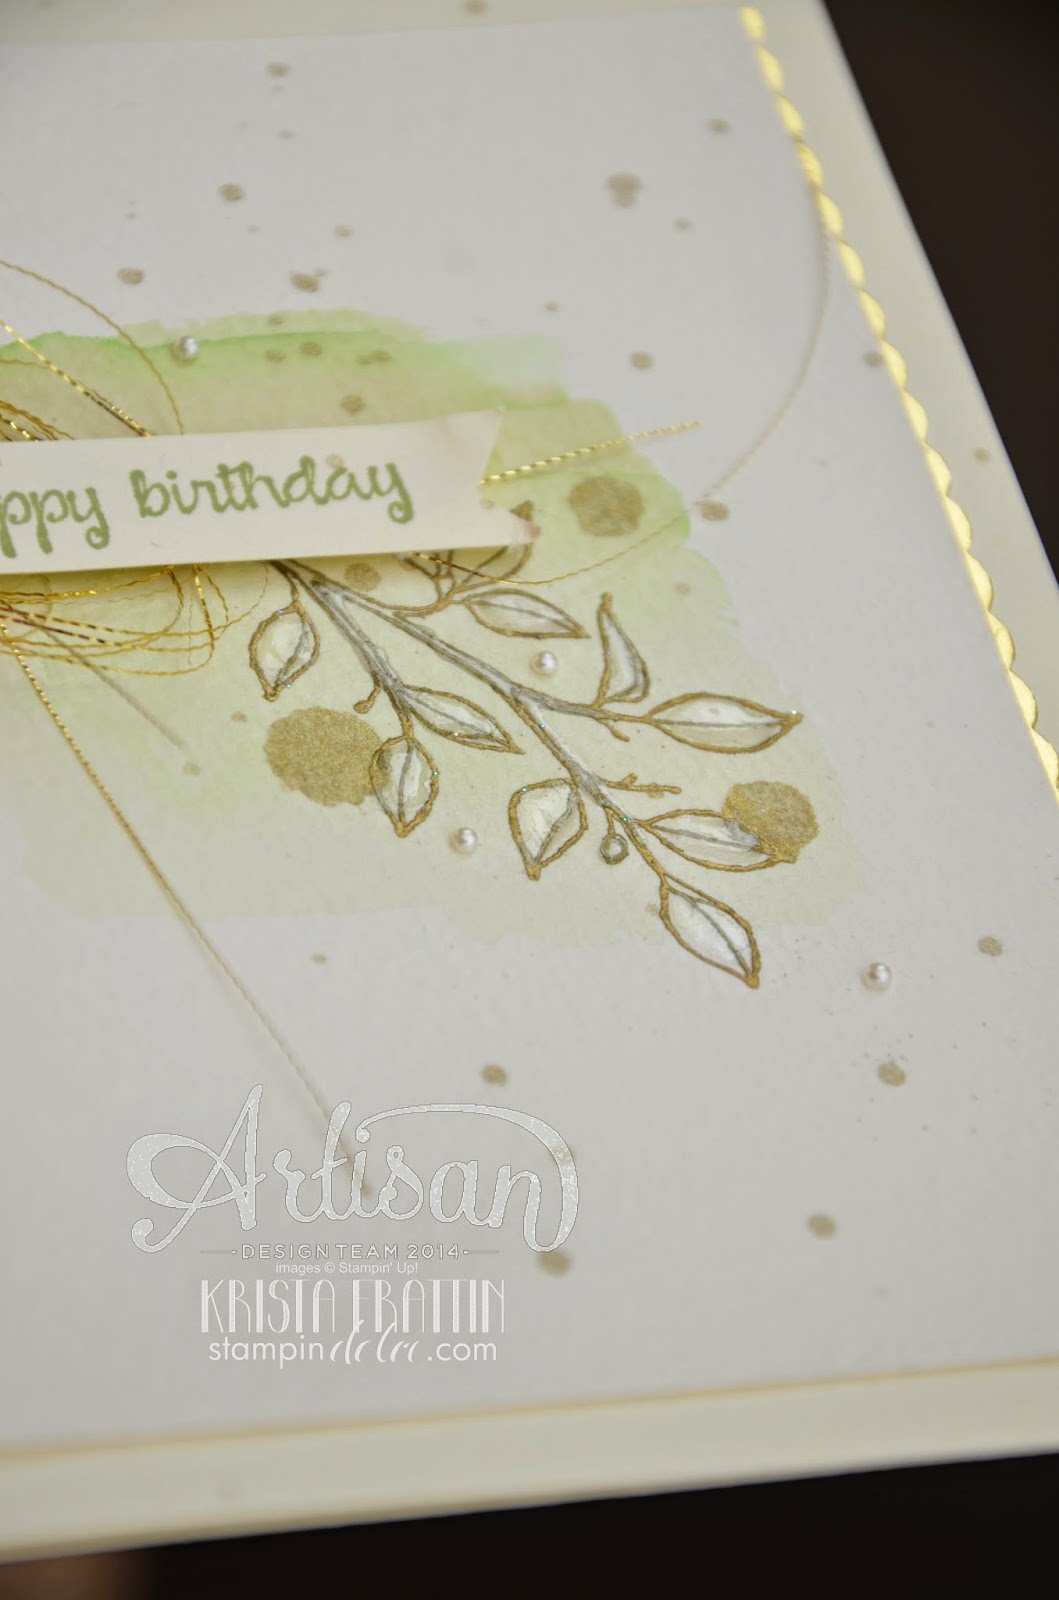
Welcome to another week of the Stampin' Up! Artisan Design Team Blog Hop!
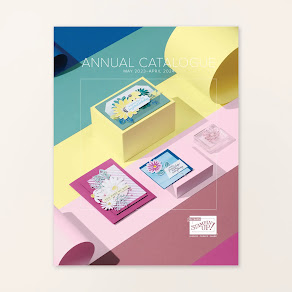
When the Typeset Designer Series Paper came out in the annual catalogue in June I purchased three packages. Yes three! I just loved it so much! Have I used it yet ... um. no. And then Stampin' Up! send me a pack in my August Artisan box. I could not let the month pass without using it. With this unhealthy collection of designer series paper I figure I had two choices ... sew curtains out of it, or stamp you a couple of cards. Now a seamstress I am not so here are the cards my friends!


Cute right? Can you believe there is another technique this week? I am on fire! I had better slow down before the craft room burns down!!
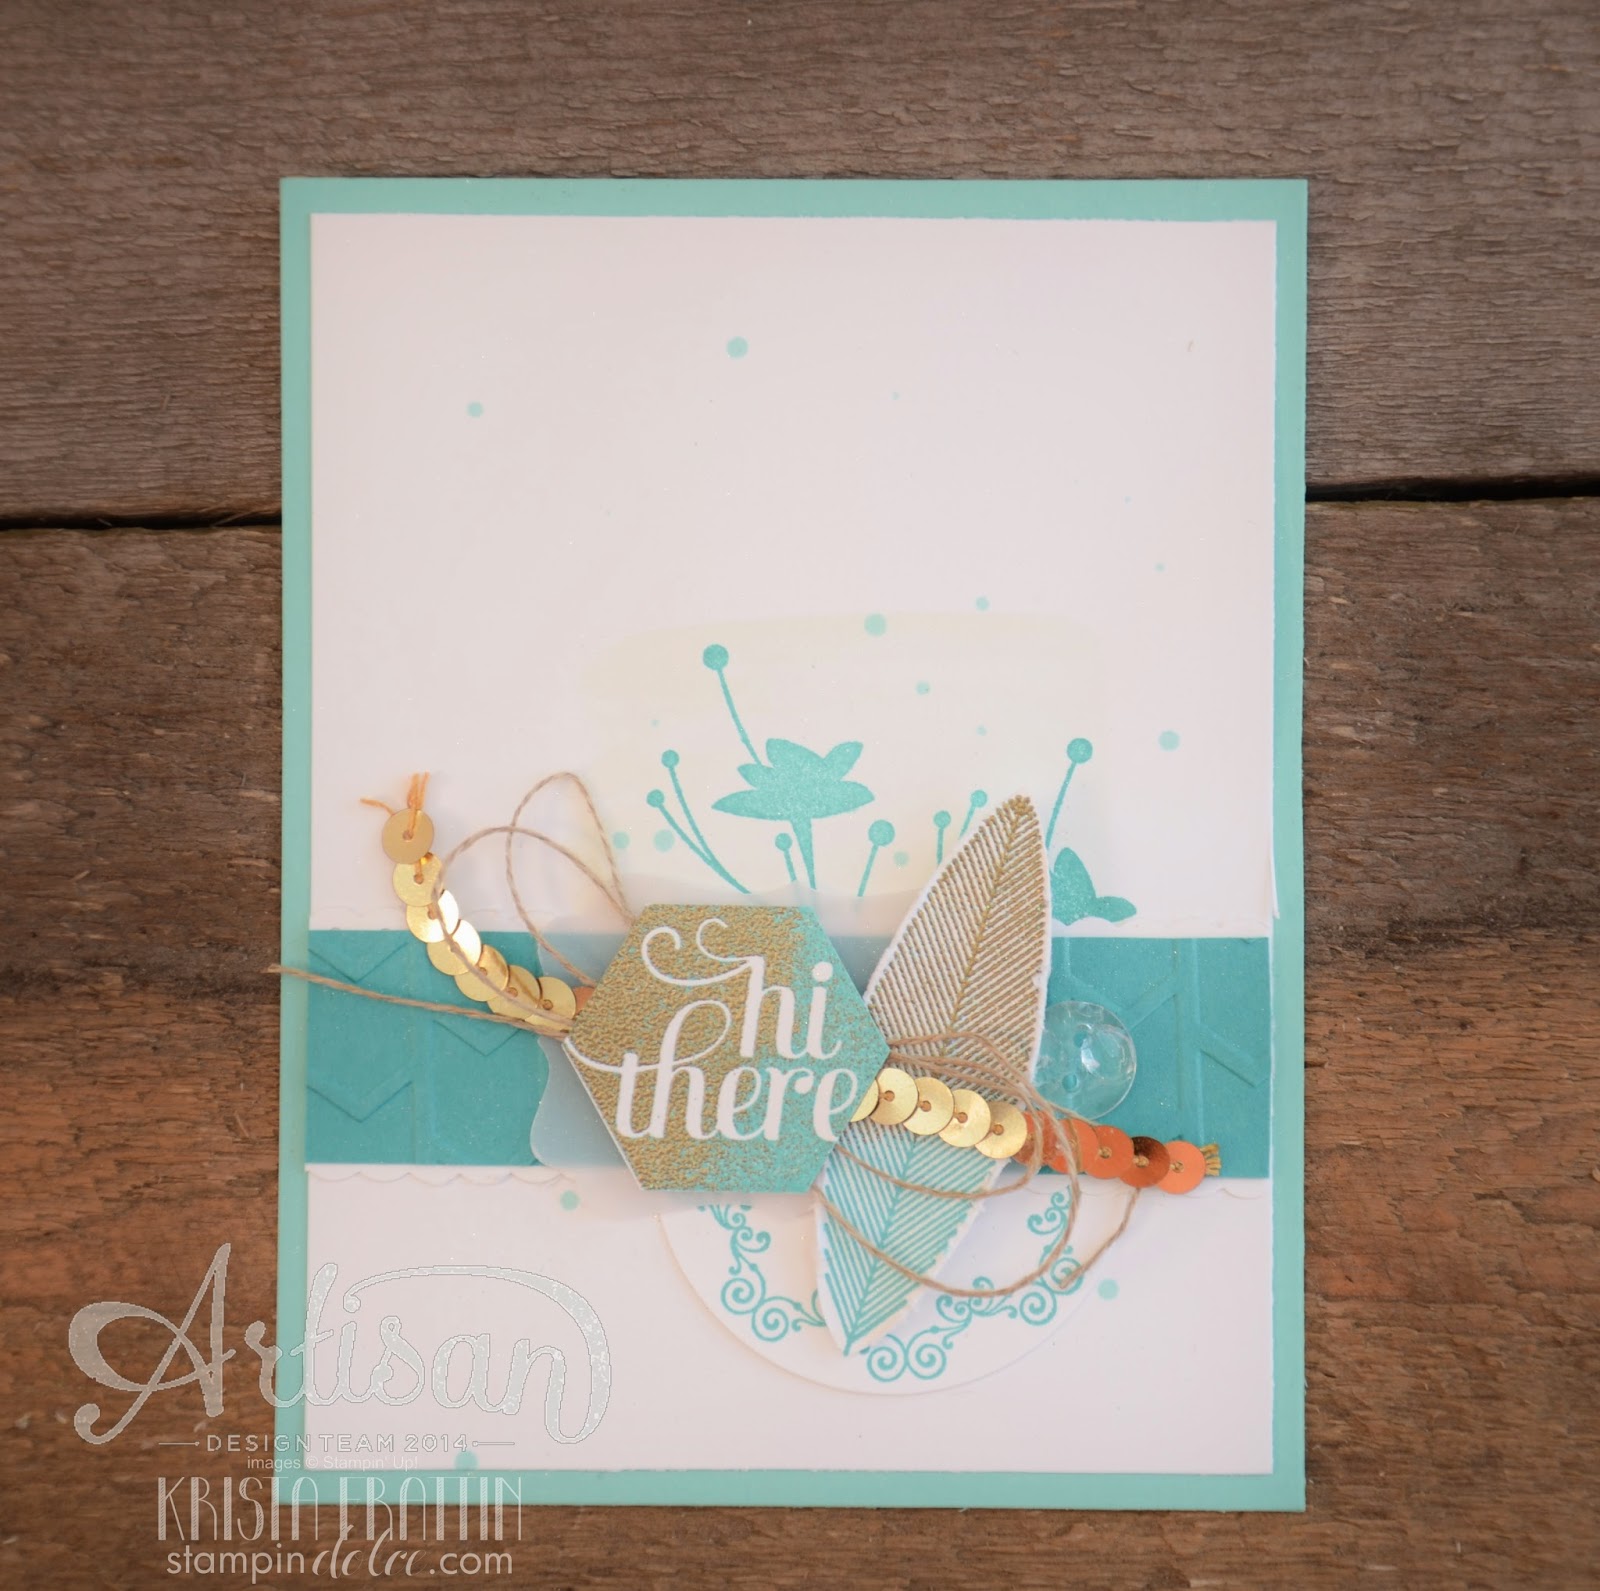
When I created the camera card above I wanted the camera lens to have a sheen to it ... to look like a real glass lens. After playing with Chrystal Effects last week I thought it was a perfect fit. Buuuut - I was showcasing this card at my Blendabilities class. The Crystal Effects needs a wee bit of dry time and I did not want my customers to take home a "wet" card.
This lead to the new technique ...

.JPG)
Now the official advise from Stampin' Up! is that we should not be cutting window sheets with our punches or thinlits/ edgelits/ framelits ... they are a match made in heaven only for our card stock. I know, I know - I am a stampin' rebel! I might recommend cutting a piece of window sheet (using scissors or a paper trimmer) to the approximate dimensions of your element and follow the technique steps above. When it has set and dried use a pair of paper snips to trim the window sheet around the stamped image.
I wanted to try this technique on a greeting and came up with this second card.

.JPG)
.JPG)

I love the way it catches the light and adds a texture to the card with this faux glass technique. Plus - I always love when I think I have invented something new!!
Head over to Lisa Harrlow's blog and see what she is up to today! Don't forget to keep clicking through the 16 bloggers in this hop ... I can say we all are kind of a big deal and are super awesome! Yeah, I said it!
.png)
Thanks for visiting blog hoppers. Have a creative day!


Read more »
When the Typeset Designer Series Paper came out in the annual catalogue in June I purchased three packages. Yes three! I just loved it so much! Have I used it yet ... um. no. And then Stampin' Up! send me a pack in my August Artisan box. I could not let the month pass without using it. With this unhealthy collection of designer series paper I figure I had two choices ... sew curtains out of it, or stamp you a couple of cards. Now a seamstress I am not so here are the cards my friends!
Cute right? Can you believe there is another technique this week? I am on fire! I had better slow down before the craft room burns down!!
When I created the camera card above I wanted the camera lens to have a sheen to it ... to look like a real glass lens. After playing with Chrystal Effects last week I thought it was a perfect fit. Buuuut - I was showcasing this card at my Blendabilities class. The Crystal Effects needs a wee bit of dry time and I did not want my customers to take home a "wet" card.
This lead to the new technique ...
Now the official advise from Stampin' Up! is that we should not be cutting window sheets with our punches or thinlits/ edgelits/ framelits ... they are a match made in heaven only for our card stock. I know, I know - I am a stampin' rebel! I might recommend cutting a piece of window sheet (using scissors or a paper trimmer) to the approximate dimensions of your element and follow the technique steps above. When it has set and dried use a pair of paper snips to trim the window sheet around the stamped image.
I wanted to try this technique on a greeting and came up with this second card.
.JPG) |
| Can you see the Happiness greeting catches the light and looks like a piece of glass! |
.JPG) |
| I am loving my little nest of Linen Tread behind by silver embossed bird. Yes, I fussy cut this birdie out. |
.JPG) |
| This card measures 8 1/2" x 4" and fits perfectly into a letter size envelope. I just had to make my own envelope with the Envelope Punch board (133774)!! |
.JPG) |
| I lined the envelope with some Typeset Designer Series Paper and embellished the inside of my card a wee bit. |
Head over to Lisa Harrlow's blog and see what she is up to today! Don't forget to keep clicking through the 16 bloggers in this hop ... I can say we all are kind of a big deal and are super awesome! Yeah, I said it!
Thanks for visiting blog hoppers. Have a creative day!


.png)